Computers are everywhere, and far too many of them look the same. I’m not talking here about the external frame of your laptop or desktop. Sure, you could modify those, but it’s unwise to go them with an angle grinder, and stickers can only take you so far.
Instead, I’m more thinking of the huge array of choices you can make – but most people don’t – when it comes to the display you look at every day. The reason that the Windows XP desktop – those green rolling hills – became iconic was because so many people didn’t bother to make changes that could have made their PCs even more personal and comfortable to use.
After all, it’s your computer – why shouldn’t it reflect who you are? It’s pretty easy to make changes, and simple enough to revert back if you change your mind as well.
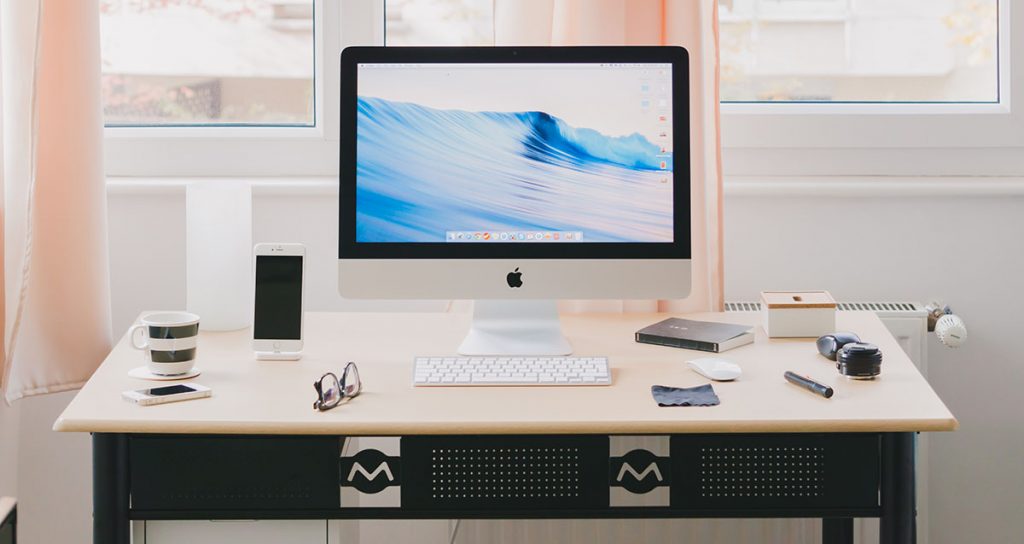
1. Personalise your desktop with an image that you love
This is the simplest and most direct way to change up the look and feel of your computer. It’s also dead easy, whether you’re on a Windows PC or an Apple Mac.
From your Windows desktop, right click your mouse or trackpad, and choose “Personalise” and then “Background”. You’ve got lots of choices here, whether you want just one picture of your grandkids, a constantly changing slideshow of pictures, or even just a simple solid colour arrangement.
On a Mac?Open System Preferences and then Desktop & Screen Saver. From here you can choose from your own pictures or desktop images supplied by Apple, as well as setting choices for changing the picture on a regular basis if that’s your style.
Whether you’re on a PC or Mac, one factor to keep in mind here is that the resolution – the number of pixels that make up your chosen image – may not match the resolution of your screen. For images that are larger than your display you’ll typically want to hit the centre of the image, while those that are smaller will need to either be tiled or stretched to fit. For images you find online, you may discover that they’re quite low resolution and won’t work well as desktop images.
2. Tell the taskbar where to go (and what to look like)
One of the more contentious aspects of Windows 11 is the way that it shifted the start menu to the bottom middle of the screen away from the left-hand side where it had been all the way back to Windows 95. Thankfully, Microsoft makes it pretty easy to shift it back if it offends your long-term muscle memory like it does mine.
Right click on the desktop again, click on Personalise again, but then scroll down the list to Taskbar. From here you can switch up all sorts of taskbar icons, but it’s the Taskbar behaviours option at the bottom that you want. Click on it to open it up, and the top entry should be “Taskbar alignment”. The default is centred, but with a single click you can change that to the left-hand side of the screen as you wish. This is also where you can tell the Taskbar to automatically hide if you don’t want or need it in view all the time.
Mac user? You totally can control where the Mac equivalent, the Dock goes. Open up System Preferences, then Dock & Menu Bar, and from there pick from a dock on the bottom of the screen – which is the default – or the left- or right-hand sides. I favour a left-hand side approach myself, but tastes can vary. Like Windows, you can also opt to hide and show the Dock only when needed from this screen as well.
3. Pick a light- or dark-themed desktop
Fans of Star Wars will be familiar with the light and dark sides of the force, but you may not be quite as familiar with the light and dark sides of desktop environments. Classically, computers desktops tended to just be bright blaring rectangles, emphasising illumination above all else. That’s good for capturing attention, but not always the best for tired eyes that may have to stare at a monitor for ages.
That’s where dark colour schemes come into play. The theory here is that your eyes are less strained if they’re being blasted with less light, and using dark icons and backdrops can help with that. It is 100% a personal taste matter, but it’s also easy to flip from one to the other to see which you feel most comfortable with.
On a Windows PC, right click on the desktop, choose Personalise, and then Colours. At the top, there’s a section to “Choose Your Mode”. You can pick between the classic Light, the more modern Dark, or even create a custom mix of the two for Windows and Apps respectively.
If you’re on a Mac, open up System Preferences, then General, and choose appearance either as Light, Dark or the Auto setting that will gradually shift from light to dark (and vice versa) throughout the day or early morning depending on when you’re sitting at your computer.
4. Clean up your desktop, like mum told you to
When you were young, you almost certainly hated cleaning up your room. Many of us are that way with our computer desktops too, leaving apps, documents, shortcuts and all sorts of digital detritus cluttering up your experience.
I’m not your mum, but I can tell you to clean up your desktop. Thankfully this is a lot easier than it seems. Yes, even easier than that “trick” you used as a kid where you’d shove everything under the bed. I’m wise to your ways.
On a Windows PC, one of the easiest ways to sort out what’s needed is to simply sort your desktop icons. Right click on the desktop, choose “Sort” and then a sorting style – I’d recommend by Item Type, but if your brain’s going to work better by name, date or size, knock yourself out. If nothing else it’ll neatly align your desktop icons, making them instantly neater.
For Macs, on the desktop right click and use Sort By to achieve the same effect. You’ve got an additional option here called Stacks, which neatly piles similar icons depending on their type, expanding out if you click on them. Stacks can be super useful for getting your desktop clean in a hurry.
5. Go all in on a Windows theme
Windows allows for a lot of personalisation options, but not all of them are going to play well together if you go too crazy adjusting variables. Not all of us are fine graphics designers either, and that can lead to some pretty horrible colour clashes if you’re not careful.
However, you don’t have to be, because Windows also supports full desktop themes that can change everything from the background image to the mouse cursor to the sounds that Windows makes by default. Microsoft supplies a bunch of themes for you to try out, as well as offering even more through the Microsoft Store. To access themes, once again right click on the desktop, choose personalise and then themes. There’s literally hundreds to choose from if you’re happy to download them from the Microsoft Store, and you can switch between them with a simple click.
Effortlessly set up your new computer or laptop with our expert guidance.
or complete our form today to set up an appointment with a computer repair technician