Being the proud but well-adjusted geeks that we are we’re not afraid to admit that we can get a little sentimental every now and then. This is especially true around the holiday season when so memories are made with our respective friends and family. After all, who doesn’t love a trip down memory lane?
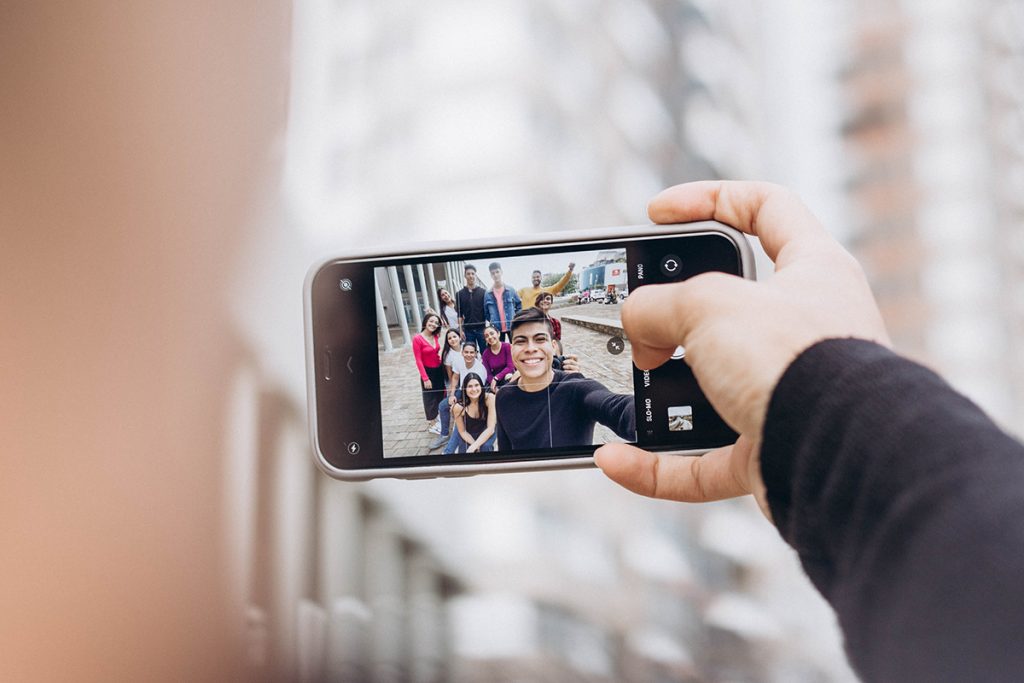
The easiest path down memory lane, of course, is through photography, a path that was made even easier to access with the introduction of digital cameras for the consumer market in the late 1990s. Since that time, and with the incorporation of digital cameras into mobile phones a few short years later, digital photography has slowly but surely surpassed traditional photography – that being an exposure on photographic film – as the foremost method of memory-capturing.
There are many, many reasons why digital photography is more popular, if not flat-out better than analogue photography, but that’s not what we’re here to evaluate today. Suffice today, some of the more obvious reasons include cost, storage, shareability, the instantaneous satisfaction you get from seeing what your image looks like immediately and the advantage that digital photography has that closely ties in with the theme of this article, the ability for anyone to edit an image.

What do you mean by “edit” an image”?
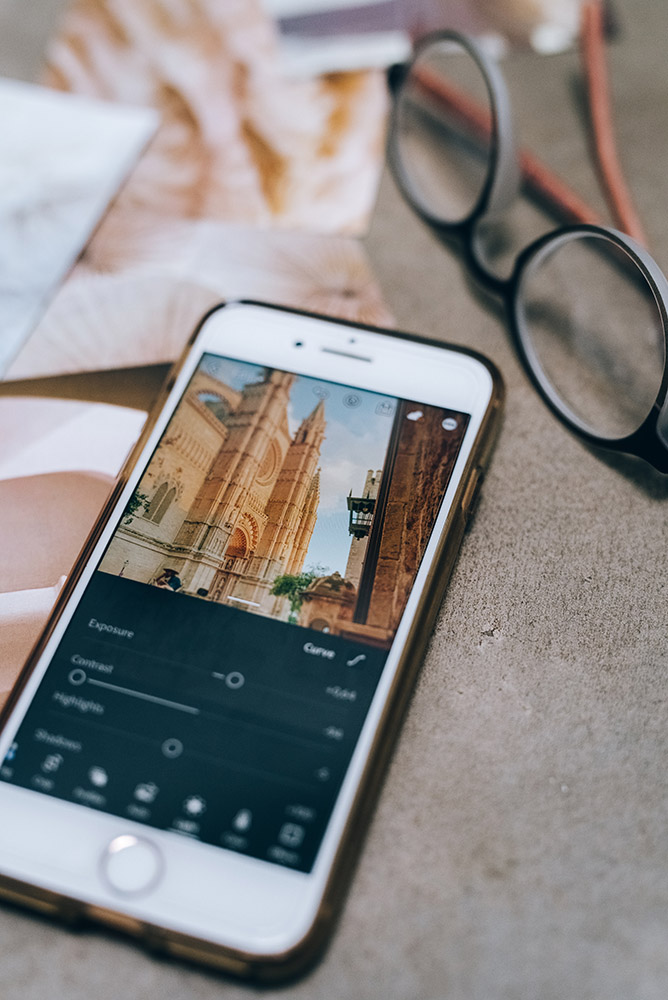
There are all kinds of ways to edit an image once you have the digital file stored on your computer, tablet or smartphone. You can add effects, change the colour or hue, redistribute the light, blur or remove elements from the image, or the subject of this blog piece, resizing an image.
And what do you mean by “resize” an image”?
There are two ways to look at this, though the end goals for both are the same: make a large image smaller or a small image larger. The former of these two end goals is a little easy because making an image smaller gives you the option of cropping the image rather than attempting to resize it. The latter, of course, does not allow for cropping, at least not for everyday photo editors
What is cropping?
Excellent question, a logical and important digression that we will attempt to explain with as much brevity as we can muster. We’ve gone through this in far greater detail here, but simply put cropping is the practice of removing parts of an image to improve framing, emphasize a subject, or change the aspect ratio (that’s the ratio of the image’s width to its height). When you crop an image, you are attempting to keep all the elements you want while removing those you don’t.
Cropping comes in handy when you’re printing an image, posting to social media or showing off your products on your eCommerce store.
Unfortunately, cropping has its limitations: cropping for printing means that you’re generally locked into certain aspect ratios associated with printed photos while social media posts, as well as the profile photos and cover images for your social media sites, and product photos for eCommerce stores, have pre-set aspect ratios that might not work bets for the photo you’re wanting to use.
Yes, the Lock Aspect Ratio option available with most if not all photo-editing software helps you keep your images from looking all out of sorts, but then it’s no guarantee that you’ll get to keep and/or highlight the parts you want. The real trick here is to combine your cropping skills with the next thing you’re about to ask us.
What is resizing?
Unlike cropping, resizing is when you make your image smaller or larger without cutting anything out. What you’re doing is altering your image’s dimensions by increasing or decreasing the number of pixels, impacting the image’s file size and quality.
What are pixels?
Aside from being a not-too-fondly remembered Adam Sandler film from 2015 (your mileage may vary on this), pixels are the little squares of colour that combine to form an image. Every digital photo is made up of pixels, laid out horizontally and vertically in a nice little grid. The bigger the pixels the blurrier the image because the grid has fewer options with which to form your image.
In digital formats, the expression Pixels Per Inch (PPI) is used to measure the resolution of an image; that is, the amount of fine detail an image captures.
So, what’s the best way to resize an image?
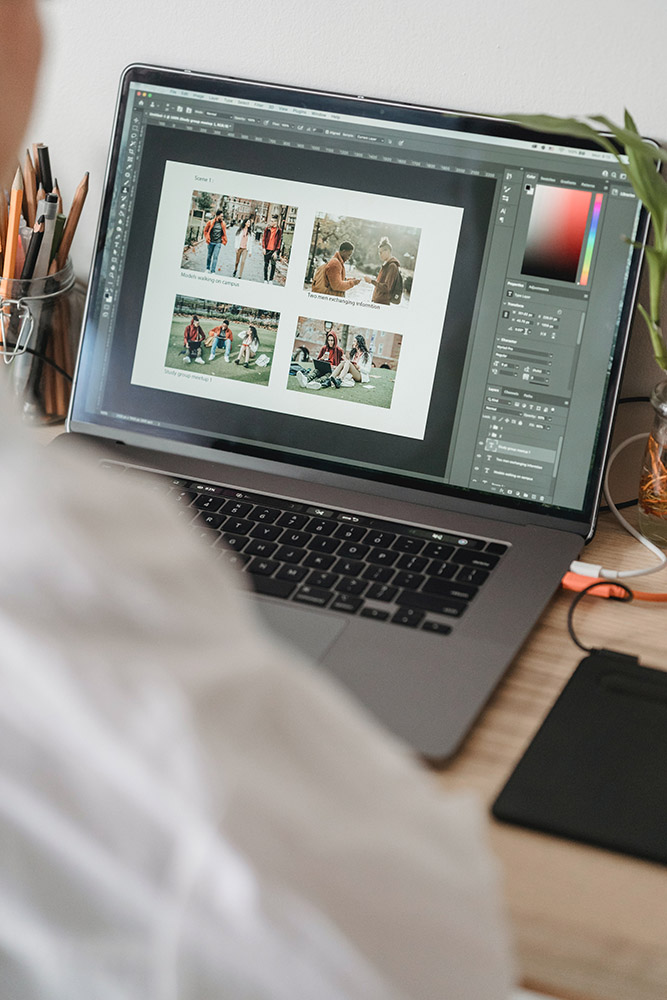
Regardless of whether you are going to crop, resize or use some combination of the two, there are a whole host of tools available to you including the familiar Photoshop software for which Adobe is rightly famous, as well as several web-based applications. You can even use the basic photo editor on your PC, Mac, tablet or smartphone to crop and resize, with the caveat that the smaller the screen you’re working on, the more difficult the process will be.

How do I resize an image in Photoshop?
If you have access to Adobe Photoshop, then you can use the image resizing menu to quickly customise your image’s dimensions before saving said image as a.jpg or.png.
Once you have opened the image you wish to resize, select the image & image size option from the top menu. This will open a new window that shows the image’s width and height as well as its resolution in PPI. You can choose which metric you’re going to use here, though the results will be the same so pick the one you’re most comfortable with and select/enter your measurements of choice.
Photoshop will display your image’s current size using the metric you’ve chosen with the changes reflected automatically, maintaining the current aspect ratio. You can disregard the current aspect ratio by clicking the chain link icon to the left of the sizing fields, though be advised that this will cause your image to appear distorted.
After you’re done it’s simply a matter of choosing your save location, giving your file a name and selecting your save format using the “save as type” field. As we mentioned, .jpg and .png are the two most common formats, but it’s a good idea to save your file as a .psd (that’s the Photoshop file format) as well just in case you want to go back and edit it again later.
How can I resize an image without Photoshop?
There really isn’t a lot different to resizing an image using any of several free resizing tools accessible via the web. In fact, the hardest part of the process could very well be working out where the resize menu is located. Once you have access to that menu, and to be fair, if you’re using a web-based resizing app it should be pretty easy to find, you follow the same procedure as you would for Photoshop.
It is good to be aware that different apps may use different measurements – millimetres or centimetres in place of inches, or x and y axis in place of pixels for example – but the process is the same, as is the option to unlock your aspect ratio, with the same image distortion outcome. Additionally, when it comes time to save our resized image, many web apps give you the option of setting the quality of your final image using a 0 to 100 scale that defaults to 100. Ost of the tie it is best to leave this at 100. When you hit save, you are then asked to select a location on your computer to save your file, the default being your Downloads folder.

How to resize an image on an iPhone?
The quick and easy way to resize an image on an iPhone is to use the crop tool. Open the Photos app and then open the image you need to resize. Once it’s open, tap the edit option in the top right-hand corner of the screen. A new menu will open with a variety of editing tools, the crop icon is the one at the bottom o the screen that looks like two right angles intersecting.
Now, tap the grey square(s) icon in the top right of the screen to open the dimension editing menu which, once again, contains several options. Choose the pre-set option that best fits your requirements, keeping in mind the concept o aspect ratio we talked about previously, or choose freeform if you’d like to manually crop your image by pinching or spacing your fingers on the screen. When you’re finished, hit Done to save your changes.
Outside of cropping, you’re going to need to download an app to change the size of your image. One of the best around is an app called Image Size, a free app (yes, there are ads) that is simple to use. Once you have it downloaded, open it up and tap the photo icon in the top left-hand corner o the screen. You’ll recognise this icon, it’s the one that looks like a mountain range in a box.
You will need to allow the app access to your photos when prompted, and then you can choose the photo from your library. Hit Choose in the bottom right-hand corner of the app and you will be given the option to choose the new size values of your image. There are other familiar options here too, like the chain link that we know allows you to unlock the aspect ratio and several different metrics by which to ensure your image including pixels, millimetres, and inches.
When you’re happy with the size of your photo, click the download icon in the bottom left-hand corner, another one you will recognise, and the resized image will be saved to your phone.
How do you resize an image to make it HD or better?
Unfortunately, outside of science fiction movies and television, this just isn’t possible. There is a finite number of pixels in an image and even though you are increasing the number of pixels when you enlarge an image, those pixels weren’t in the original image and need to be created by turning each of the image’s original pixels into multiple pixels. The result being that the larger you make an image, the more pixelated it becomes.
Is there anything else I need to know?
That pretty much sums up all you need to know about resizing an image. Of course, Photoshop and similar photo editing programs are incredibly powerful pieces of software that amateurs and professionals can use to manipulate images in hundreds of ways that go well beyond a simple resizing, but that’s another article for another day.
For now, in the spirit of thoroughness and to ensure we’ve filled you in on everything you need to know, here are some extremely quick-fire answers to some other common questions related to image resizing.
How can I resize an image without squashing it?
By ensuring that your aspect ratio is locked in place. If you’re unhappy with the image after resizing in this manner, we suggest cropping before or after resizing.
How do I resize an image on a PC?
If you don’t want to fork out the big bucks or Photoshop and you’re not comfortable on, or don’t have access to, the web, the Photos app in Windows does have some basic resizing options including a resizing menu and the ability to crop.
How can I resize an image to centimetres without Photoshop?
This one isn’t rocket science, you simply need to find a photo editing app that uses the metric measuring system in addition to or in place o the imperial system. Fortunately, there are a number of these available, and you shouldn’t have any trouble finding one by Googling “resize image cms”.
How can I resize an image without losing quality online?
The aforementioned crop and resize (or resize and crop) method is going to be your friend here. You’re going to need to utilise both, which does mean sacrificing some of the image, unfortunately, if you want to keep a good level of quality.
How to resize a letter-sized image in Photoshop?
The good news here is that “letter” is a pretty standard size that should be one of the default options when cropping or resizing your image. If not, the dimensions for a standard letter are 8.5 by 11 inches or 215.9 by 279.4 millimetres.
Need tech assistance? Our Geeks can help! Give us a call today
or complete our form today to set up an appointment with a computer repair technician


