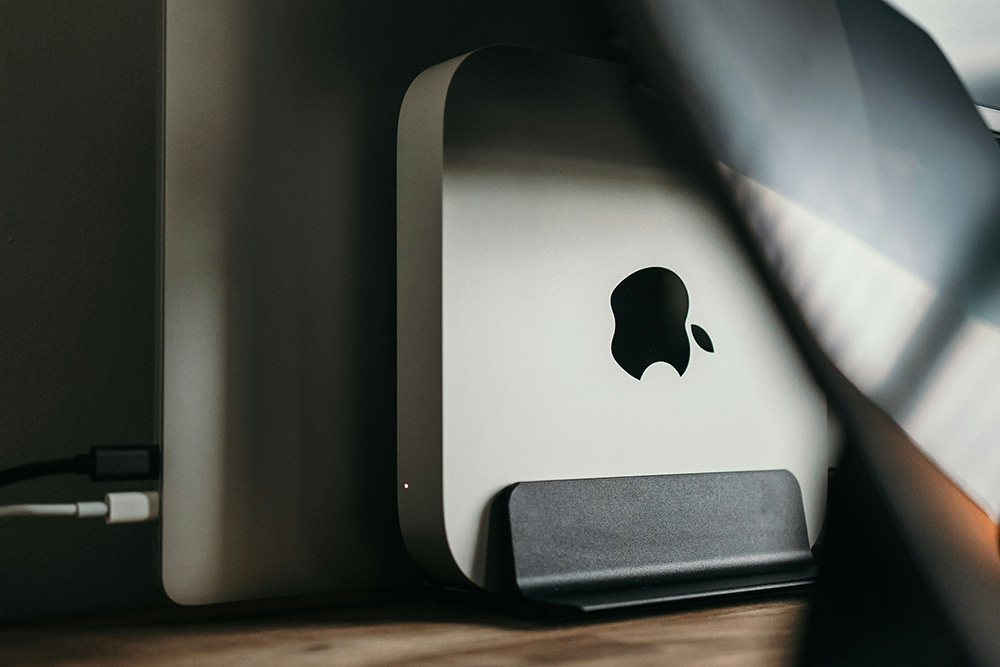
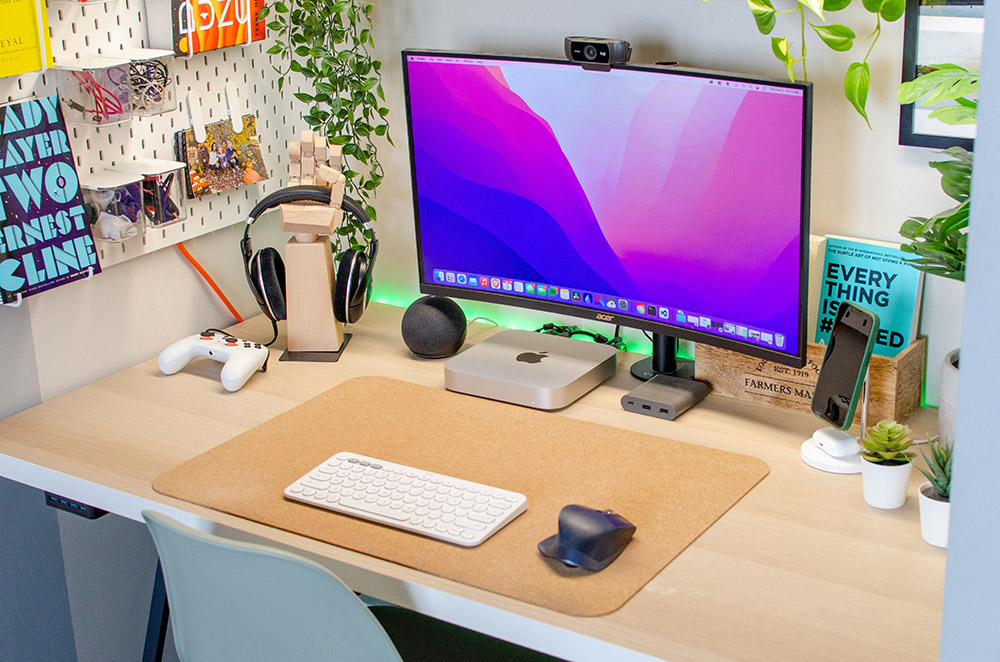
While the Mac Mini has been around since 2005, like all Apple products, it’s had many updates over its lifespan. So, it’s worth giving it another look if you had forgotten all about it (or didn’t even know it existed in the first place!).
What is a Mac Mini?
The Mac Mini is exactly what it sounds like — a smaller version of a Mac desktop computer made by Apple. It doesn’t come with any accessories like a keyboard or mouse but pairs really well with these (and an extra screen!) if you opt to add them to your purchase.
Consider it an ‘entry-level’ computer, with the trademark Apple sleekness. The latest model of the Mac Mini has a memory of 16GB, so consequently it’s a lot cheaper than a full-size Mac. But if you’re not looking to do anything too crazy, this should be enough for you.
It also has an Apple M2 chip, which has an 18% faster Central Processing Unit than previous versions and a 40% faster Neural Engine. In non-tech speak, it’s pretty fast. As fast and sometimes even faster than other Mac computers, in fact!

Mac Mini vs. MacBook Pro
Let’s start with what makes them similar. They both have the M2 chip that we mentioned above and they also both run the same operating system, macVentura. They also both have Bluetooth and Wi-Fi capabilities.
In terms of basic differences, the biggest is that the Mac Mini is a desktop computer and the MacBook Pro is a laptop. The MacBook Pro also comes in a variety of sizes, capacities, prices and colours, whereas the Mini is just a one-design-fits-all situation. On top of this, the Mini just has a standard charging port, but the MacBook Pro has a few different charging options. And finally, a MacBook Pro has a built-in webcam, whereas the Mini doesn’t.

Setting up your Mac Mini
Okay, so you’ve got it home and out of the box and you’re ready to complete your Mac Mini setup. Remember: Mac Minis don’t come with screens, laptops or a mouse, so you’ll need to have purchased some separately in order to get the best out of the computer. You’ll also need to have access to a Wi-Fi network to set up all the features on the Mac Mini properly.
1. Plug it in
Pretty simple, but the first step is connecting your new Mac Mini to power. Without power, you can’t do much!
2. Hook it up to your TV or monitor
“Can a Mac Mini connect to any monitor?”, we hear you ask. The answer is yes! You can connect your Mac Mini via a HDMI-to-DVI adapter (that will come with your purchase) to any DVI port, which is pretty standard for monitors. If you want to connect to a TV screen you may need to buy a mini-displayport-to-VGA adapter.
3. Now the keyboard and mouse
If you bought an Apple Magic Mouse, Magic Trackpad, or Magic Keyboard, you’re lucky — they should automatically be paired with your Mac Mini.
If you’re using a non-Apple mouse, trackpad, or keyboard then you’ll probably need to either pair them manually using Bluetooth or physically connect them with a cable, old-school vibes. In this instance, you’re best to follow the instruction manual that came with the accessories you bought.
4. Connect to Wi-Fi
Once you’ve turned your Mac Mini on, it’ll prompt you through set up, which makes everything nice and simple. As part of this, it’ll prompt you to connect to WiFi. Enter your network password and voilà, you should be connected!
5. Sign in with your Apple ID
You should next be prompted to sign in to your Apple id. If you’re an existing Apple user, you’ll already have one. If not, sign up and create an account to gain access to the App Store and allow you to link up your iCloud account.
6. Get started!
In terms of initial setup, that’s all you have to do. You can download more apps and optimise your Mini Mac performance in ‘System Preferences’ and start using your Mac Mini right away!
How to use Mac Mini with a laptop
If you want to use your laptop as a monitor for your Mac Mini, you’ll need to configure wireless screen sharing rather than connecting it via a cable. This will allow you to remotely control your Mac Mini from your MacBook Pro — just make sure both devices are connected to the same Wi-Fi network.
All you have to do to enable this is go to ‘System Preferences’ on your MacBook, then click ‘Internet and Wireless’ then ‘Sharing’. From here choose ‘Screen Sharing’ and select the name of your Mac Mini (which will be automatically detected as long as you’re on the same network). Enter your username and password and you’ll be good to go!
Connecting to Monitors: Making the Most of Mac Mini’s Display Flexibility
If you have the standard Mac Mini with the Apple M2 chip, you can connect up to two external displays using the HDMI and Thunderbolt ports. Be careful to check the resolution of the displays to make sure they’ll be supported.
If your Mac Mini has the Apple M2 Pro chip, you’ll be able to connect up to three external displays — one in the HDMI port and two in the Thunderbolt ports.
If you’re not sure which M2 chip your Mac Mini is running with, open ‘System Settings’, then click on ‘Help’ and then ‘Mac Mini Specifications’. Then head to ‘Video Support’ to find out!


